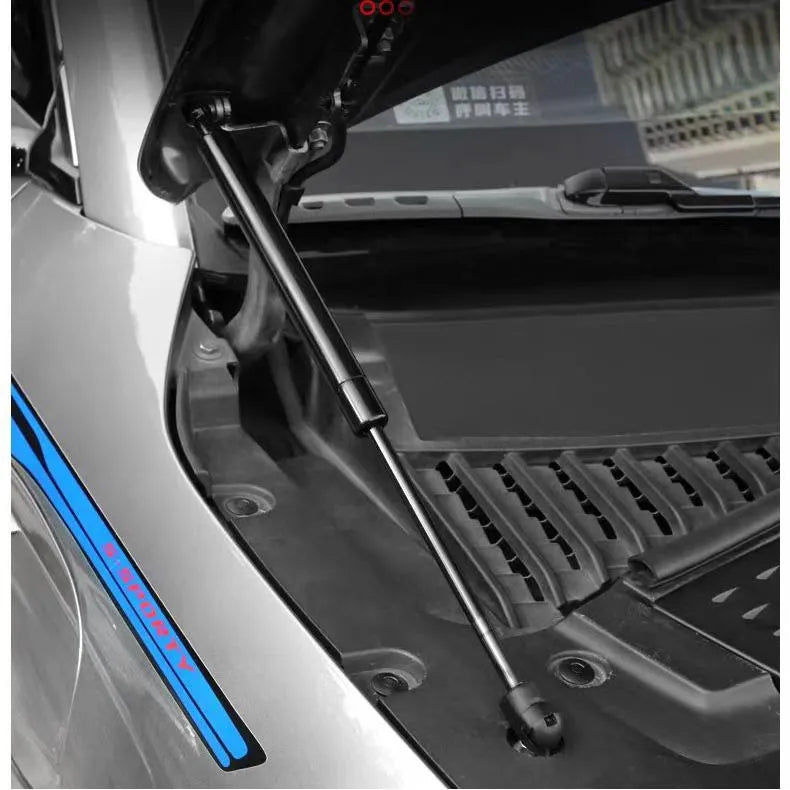
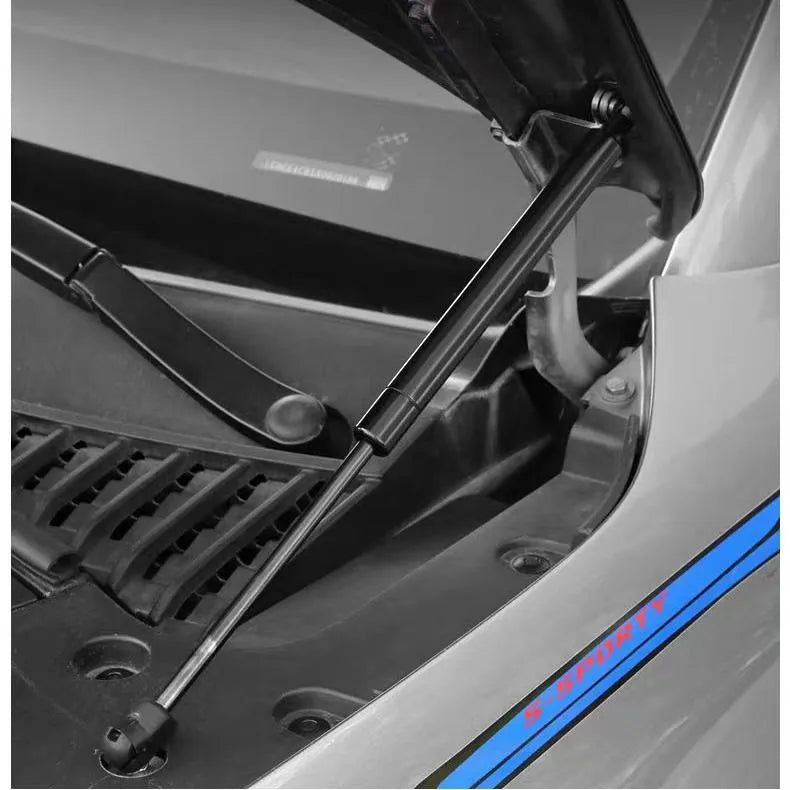
- Ajuste de precisión diseñado a medida:Diseñado a partir de los datos CAD originales del BYD Atto 3 para garantizar una compatibilidad total con los puntos de fijación de fábrica, lo que evita cualquier interferencia con los componentes situados bajo el capó.
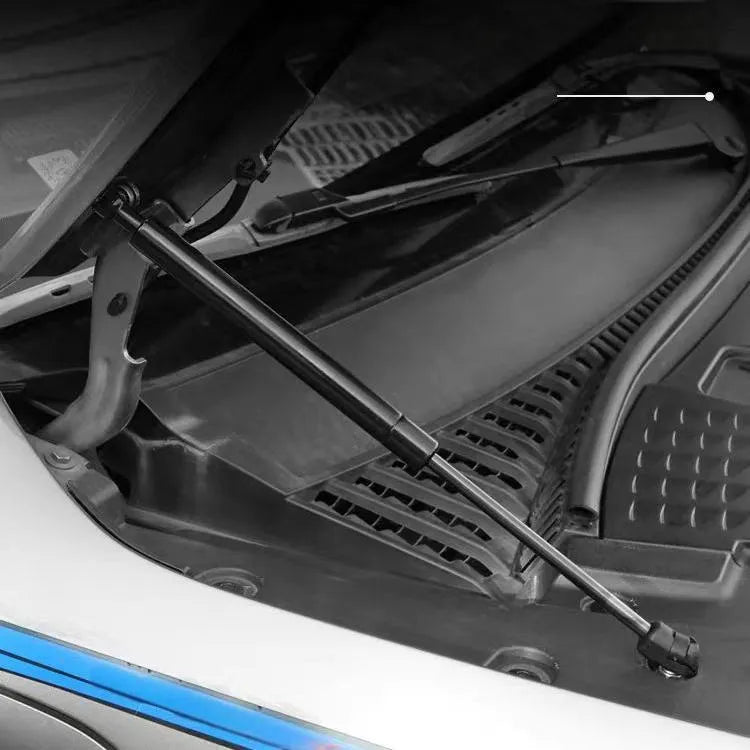
- Soporte equilibrado de doble varilla:El sistema de doble puntal distribuye el peso del capó de manera uniforme, lo que proporciona una estabilidad superior y evita que el capó se deforme o vibre.
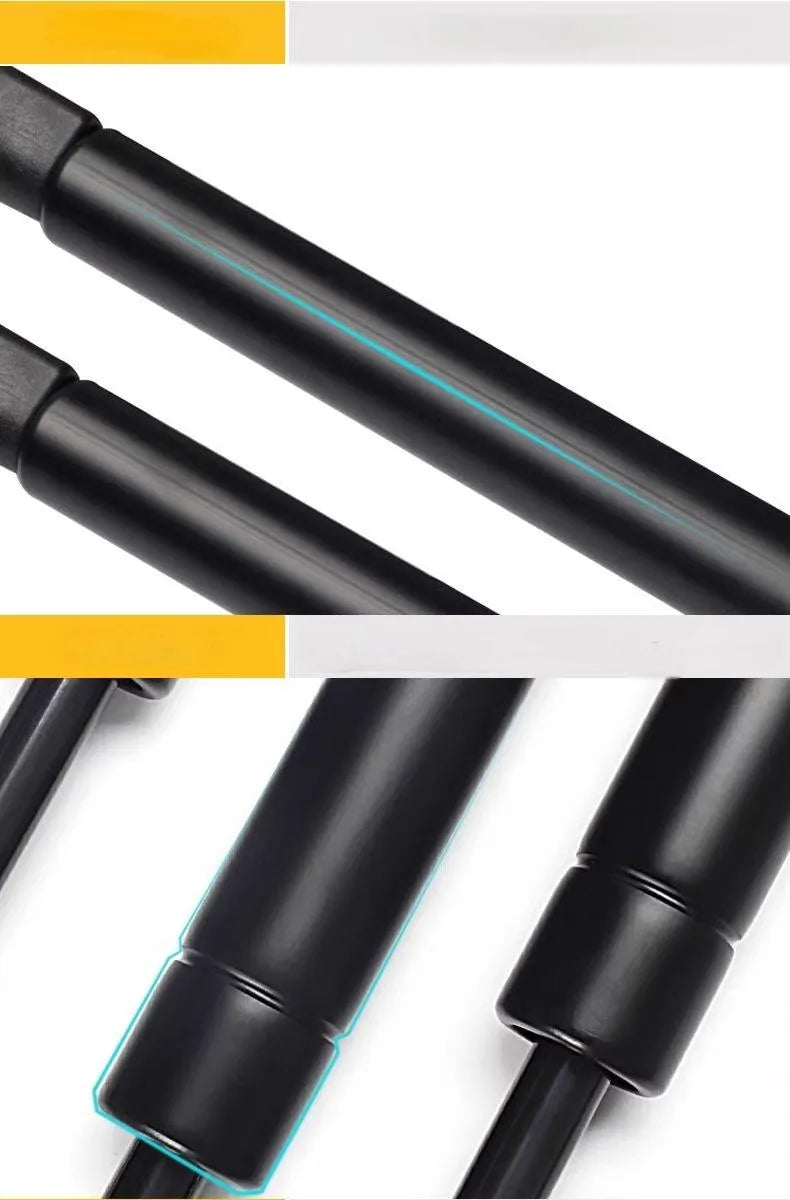
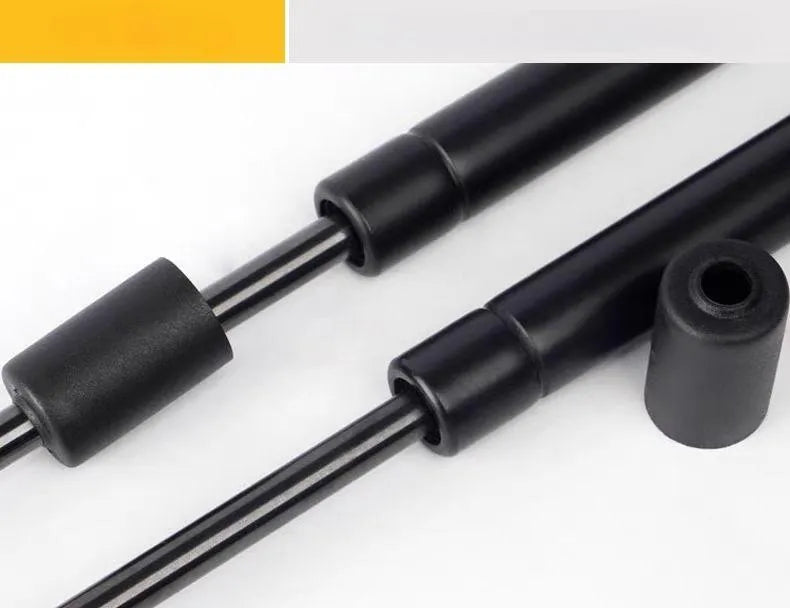
- Amortiguadores de alta gama con carga de nitrógeno:Los tubos de acero sin soldadura de alta densidad, provistos de juntas de calidad industrial, resisten las fugas de aceite y garantizan una elevación suave y controlada en un amplio rango de temperaturas (de -40 °F a 180 °F).
- Instalación sin taladrar, mediante tornillos:El diseño 100 % no destructivo utiliza los orificios y tornillos originales de fábrica, lo que preserva la integridad del vehículo y mantiene la garantía de fábrica.
- Comodidad sin necesidad de usar las manos:La apertura automática del capó, con una ligera elevación y un cierre seguro, elimina la molestia de tener que utilizar una barra de sujeción manual, lo que permite acceder de forma segura al compartimento del motor para realizar tareas de mantenimiento.
- Mayor seguridad y durabilidad:Elimina el riesgo de pellizcos que plantean las varillas de apoyo manuales, al tiempo que ofrece un rendimiento fiable en cualquier condición meteorológica.


Puntal de soporte de capó mejorado Byd atto-3
Precio regular
$44.99
Precio de venta
$44.99
Precio regular
Precio unitario
Ahorre
Quick Answer
60-second summary
Amortiguadores de capó de doble varilla cargados con nitrógeno para BYD Atto 3 (2021-2026) con apertura automática manos libres y construcción premium de acero sin soldadura. La instalación atornillada utiliza los puntos de montaje de fábrica sin necesidad de perforación.
Install time
45-60 minutos
Drilling
No - atornillable
Warranty
Sí, no invasivo
Guaranteed Fit — Zero Purchase Risk
Verified for your vehicle. If these parts don't fit, we cover return shipping and issue a full refund. No questions asked.
Confirm this fits your vehicle
Volume Discount — More Sets, More Savings
1 Set
Standard price
$44.99
2 Sets
Save 10% — $40.49 each
$80.98
$89.98
3 Sets
Save 15% — $38.24 each ★ Best value
$114.72
$134.97
-
Entrega estimada:Aug 03 - Aug 07
-
¡Envío aéreo exprés gratuito en pedidos superiores a $100!

Puntal de soporte de capó mejorado Byd atto-3
Ajuste de Precisión Garantizado
Cada pieza verificada con datos OEM del vehículo. Garantizado que encajará en tu vehículo — o cubrimos el envío de devolución y reembolsamos el importe íntegro.
Diseñado para Plataformas EV
Piezas diseñadas para BYD, Tesla, MG, GWM y KIA — calidad de especificación OEM, probadas para sistemas eléctricos EV y compatibilidad de pinzas de freno.
Tus Piezas, Tus Condiciones
Pagos divididos con Zip, Afterpay o Shop Pay. Opciones sin intereses — aprobado en segundos en el checkout, sin formularios requeridos.
Características y Beneficios
Lo que Incluye
Galería del Producto
Vehículos compatibles confirmados para esta pieza. Usa el selector de vehículo arriba para verificar la compatibilidad de tu auto específico.
| Rango de Año | Marca | Modelo |
|---|---|---|
| 2021-2026 | BYD | Atto 3 |
⚠ Nota de compatibilidad
Para la compatibilidad con modelos, años o variantes específicos, envía tu VIN o los detalles de tu vehículo a support@evparts4x4.com — te confirmaremos la compatibilidad en un plazo de 24 horas.
¿No estás seguro de la compatibilidad? Contáctanos — confirmaremos en 24 horas.
Tiempo total
45-60 minutos
Requiere taladrar
No - atornillable
Garantía
Sí, no invasivo
Sí, este amortiguador de soporte de capó mejorado está diseñado para los modelos BYD Atto 3 de 2021 a 2026, por lo que su modelo de 2024 será totalmente compatible. Los amortiguadores están diseñados a medida utilizando datos CAD originales del BYD Atto 3 para asegurar una compatibilidad del 100 % con los puntos de montaje de fábrica sin interferencias.
No se requiere perforación. Esta es una instalación 100 % no destructiva, atornillada que utiliza los agujeros y pernos originales de fábrica de su vehículo, para que pueda preservar la integridad de su vehículo y mantener su garantía de fábrica.
El proceso de instalación implica seis pasos sencillos: asegurar el capó, instalar los soportes inferiores, montar los soportes superiores, colocar los amortiguadores, retirar la varilla de apoyo manual y probar el funcionamiento. La mayoría de los propietarios completan la instalación en menos de una hora, aunque recomendamos que una segunda persona ayude por seguridad durante el proceso.
Su kit incluye un par de amortiguadores hidráulicos de capó mejorados, un juego de soportes inferiores, un juego de soportes superiores de rótula y un kit de herrajes con todos los pernos necesarios. Todo lo que necesita para una instalación completa está incluido.
Sí. Estos amortiguadores de capó cuentan con amortiguadores de nitrógeno de primera calidad con tubos de acero sin costura de alta densidad y sellos de grado industrial que brindan una elevación suave y controlada en temperaturas extremas de -40 °F a 180 °F, lo que garantiza un rendimiento confiable en todas las condiciones climáticas.
Los amortiguadores están construidos con tubos de acero sin costura de alta densidad y cuentan con sellos de grado industrial que resisten las fugas de aceite. El sistema de soporte equilibrado de doble varilla utiliza amortiguadores de nitrógeno de primera calidad para distribuir el peso del capó de manera uniforme y evitar deformaciones o vibraciones.
No, su garantía de fábrica se conserva. Debido a que esta es una instalación no destructiva y atornillada que utiliza los orificios y pernos originales de fábrica de su vehículo, mantiene la cobertura completa de la garantía de fábrica y no anula ninguna protección existente.
Usa el selector de vehículo en la parte superior de esta página para confirmar la compatibilidad con tu año, marca y modelo específicos. Si tu vehículo no está listado o no estás seguro, contáctanos en support@evparts4x4.com con tu VIN — confirmaremos la compatibilidad en 24 horas. Nuestra política de Ajuste Garantizado significa que si hay un problema de compatibilidad de nuestra parte, lo solucionaremos.
Los pedidos se procesan y despachan en 2-4 días hábiles. Las piezas estándar se envían por correo aéreo y normalmente llegan en 10-15 días hábiles; las piezas de carrocería más grandes se envían por flete marítimo y tardan alrededor de 30-45 días hábiles. El envío es gratis en pedidos superiores a $100. Recibirás un número de seguimiento una vez que tu pedido sea enviado, y puedes rastrearlo en cualquier momento aquí. Detalles completos en nuestra Política de Envío.
Sí — ofrecemos una ventana de devolución de 30 días desde la fecha de entrega, y no cobramos ningún cargo de reposición. Si un artículo llega dañado o no es correcto por nuestra parte, organizaremos un reemplazo o reembolso completo y cubriremos el envío de devolución. Para los términos completos, consulta nuestra Política de Devolución y Reembolso o inicia una devolución a través de nuestra página de RMA.
No proporcionamos instalación directamente, pero la mayoría de nuestras piezas están diseñadas para una instalación DIY directa — la guía paso a paso está en la pestaña de Guía de Instalación arriba. Para piezas complejas (por ejemplo, frenos, suspensión, sistemas eléctricos), recomendamos que un mecánico calificado realice la instalación. Si tienes preguntas técnicas durante la instalación, nuestro equipo de soporte está feliz de ayudar en support@evparts4x4.com.
