


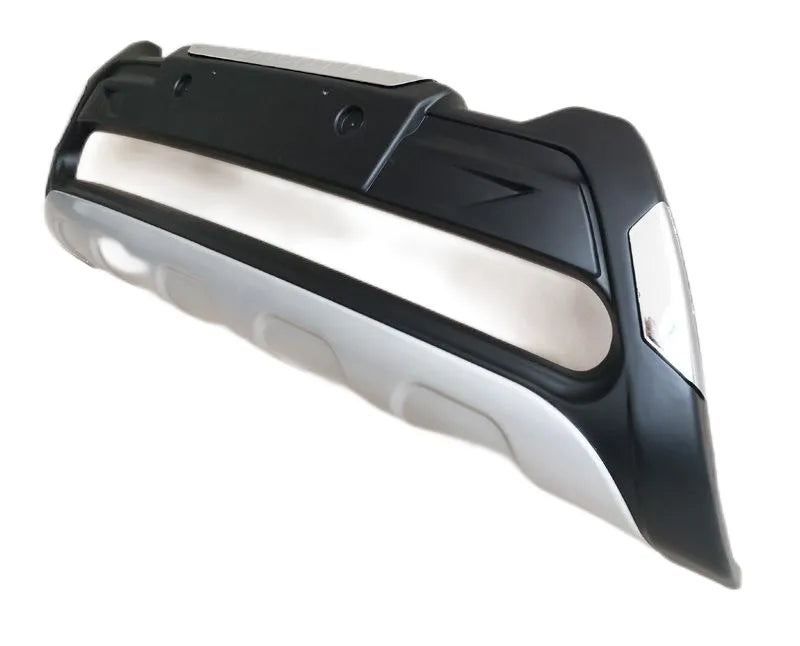
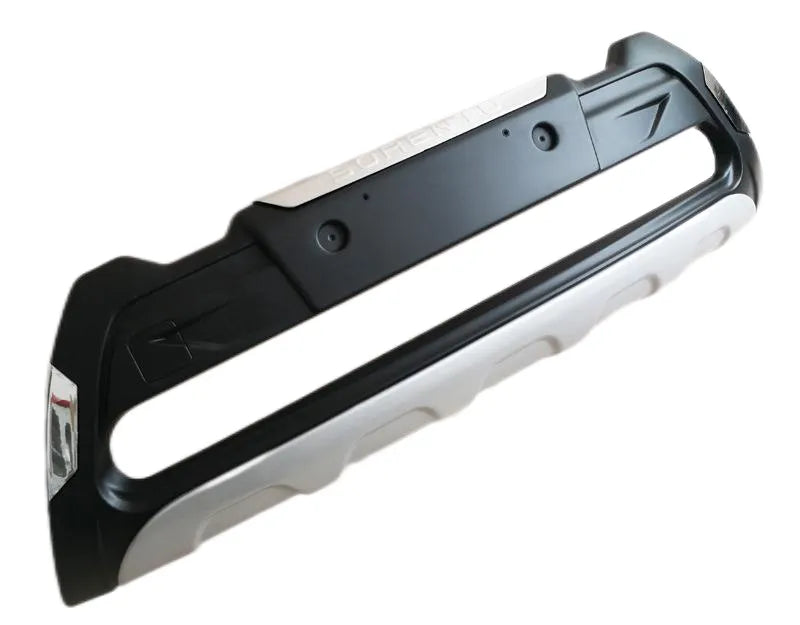
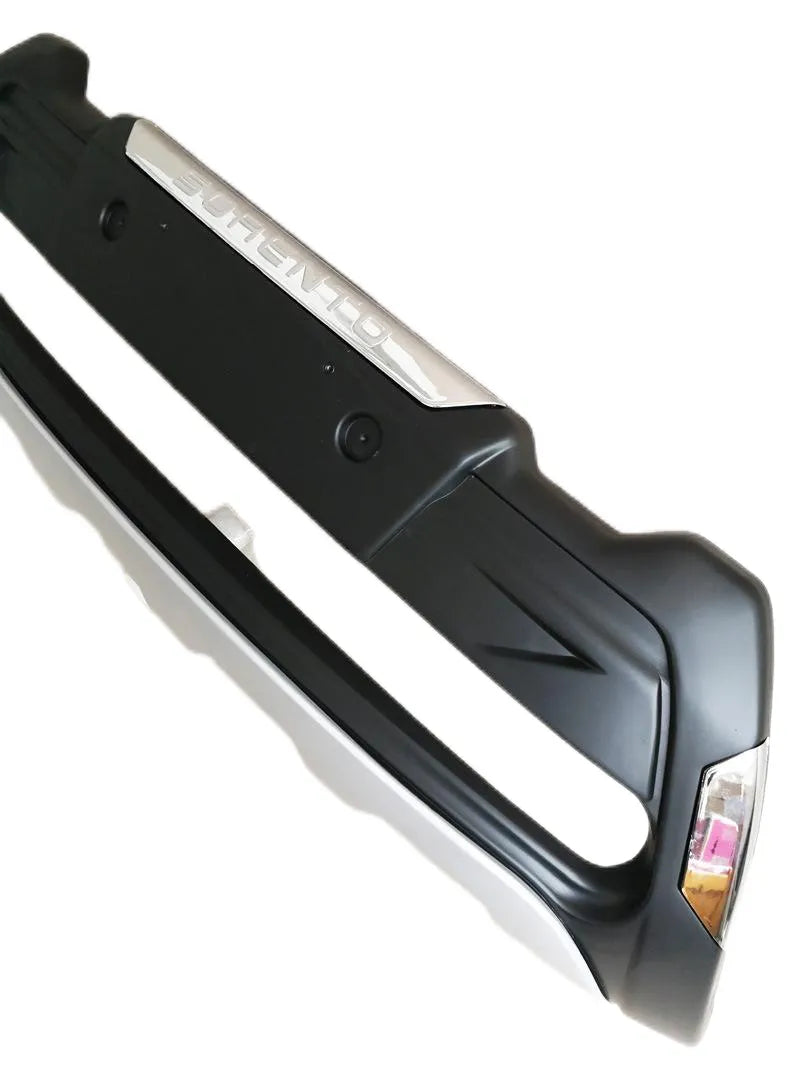
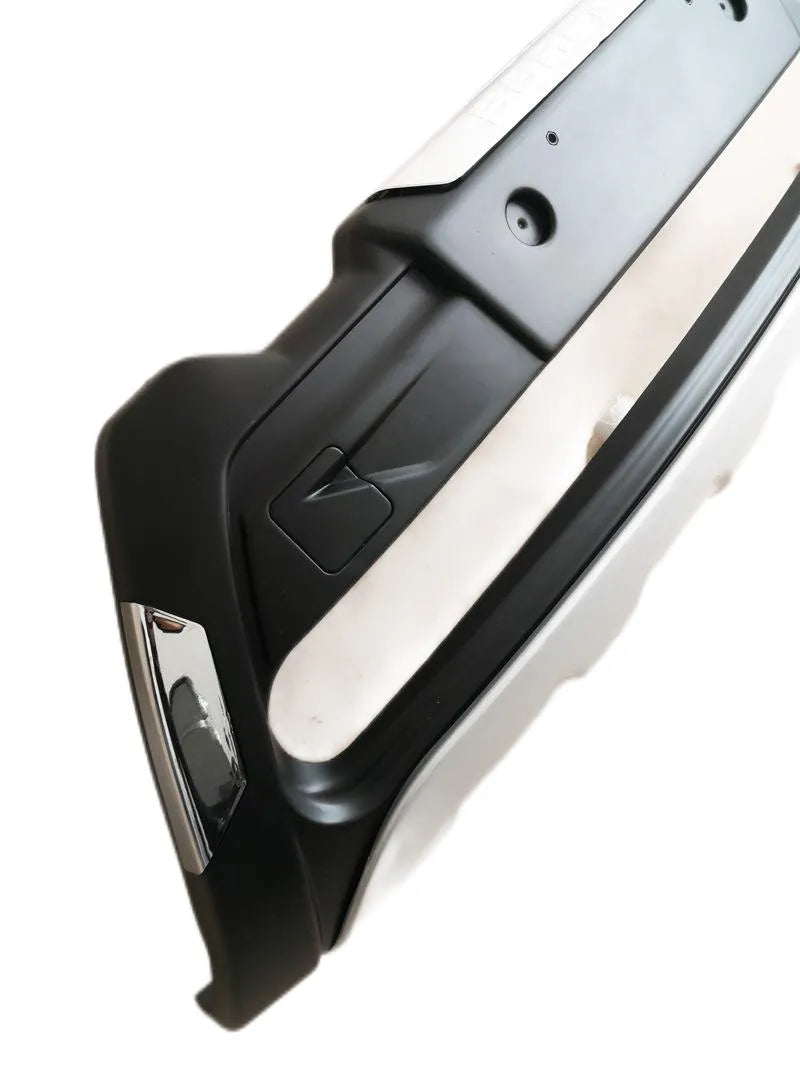
- OEM-Style Design: Matches factory aesthetics with precise body lines and contours for seamless integration with your Sorento's exterior.
- Dual Trim Options: Available in Sports and Luxury configurations to match your vehicle's original trim level and styling preferences.
- Durable Material Construction: High-quality plastic composite resists impact, UV damage, and weathering for long-lasting performance.
- Complete Front & Rear Coverage: Full bumper sets protect critical areas while maintaining aerodynamic efficiency and visual appeal.
- Easy Installation: Direct bolt-on design with pre-drilled mounting points eliminates custom fabrication and reduces installation time.
- Flexible Configuration: Purchase complete sets or individual bumpers (front or rear) based on your repair or upgrade needs.


2015-2017 KIA Sorento Front and Rear Protective Bumpers
Regular price
$350.17
Sale price
$350.17
Regular price
Unit price
Save
Quick Answer
60-second summary
OEM-style front and rear bumpers for 2015-2017 KIA Sorento in Sports and Luxury trims. High-quality plastic composite with bolt-on installation using pre-drilled mounting points for seamless integration and complete protection.
Install time
60-90 minutes
Drilling
No - bolt-on
Warranty
Yes - bolt-on
Guaranteed Fit — Zero Purchase Risk
Verified for your vehicle. If these parts don't fit, we cover return shipping and issue a full refund. No questions asked.
Confirm this fits your vehicle
Volume Discount — More Sets, More Savings
1 Set
Standard price
$350.17
2 Sets
Save 10% — $315.15 each
$630.31
$700.34
3 Sets
Save 15% — $297.64 each ★ Best value
$892.93
$1,050.51
-
Estimated delivery:Aug 20 - Aug 24
-
Overweight products (over 10 kg) are shipped by sea freight, carefully packed and delivered by local carriers. The exact shipping time will be confirmed after order confirmation.

2015-2017 KIA Sorento Front and Rear Protective Bumpers
Precision Fit Guaranteed
Every part verified against OEM vehicle data. Guaranteed to fit your vehicle — or we cover return shipping and issue a full refund.
Engineered for EV Platforms
Parts designed for BYD, Tesla, MG, GWM, and KIA — OEM-spec quality, tested for EV electrical systems and caliper compatibility.
Your Parts, Your Terms
Split payments with Zip, Afterpay, or Shop Pay. Zero-interest options — approved in seconds at checkout, no forms required.
Features & Benefits
What's Included
Product Gallery
Confirmed compatible vehicles for this part. Use the vehicle selector above to verify fitment for your specific car.
| Year Range | Brand | Model |
|---|---|---|
| 2015-2017 | KIA | Sorento |
⚠ Compatibility note
For specific model/year/variant compatibility, please send your VIN or vehicle details to support@evparts4x4.com — we'll confirm fitment within 24 hours.
Not sure about compatibility? Contact us — we'll confirm within 24 hours.
Total time
60-90 minutes
Drilling required
No - bolt-on
Warranty
Yes - bolt-on
The Sports and Luxury bumpers are styled to match your Sorento's original trim level—each features OEM-style design with precise body lines specific to that configuration. We offer both as complete front and rear sets (SKU1 for Sports, SKU2 for Luxury) or as individual pieces, so you can choose whichever matches your vehicle's current trim and aesthetic preferences.
You can purchase exactly what you need. We offer complete front and rear bumper sets, or individual front bumpers (SKU3 for Sports, SKU4 for Luxury) and rear bumpers (SKU5 for Sports, SKU6 for Luxury) sold separately, so you can repair or upgrade just one section if that's all your Sorento requires.
Installation is designed to be straightforward with a direct bolt-on design and pre-drilled mounting points—no custom fabrication required. You'll need basic hand tools like sockets and wrenches to remove fasteners and secure the new bumper, and we recommend having an assistant help guide the bumper into position to ensure proper alignment and avoid paint damage.
These bumpers are constructed from high-quality plastic composite designed to resist impact, UV damage, and weathering for long-lasting performance. The material is built to withstand outdoor conditions while maintaining the OEM-style appearance and aerodynamic efficiency of your Sorento.
Yes, the installation process includes reconnecting any sensor or fog light wiring harnesses to the new bumper. The guide walks you through carefully disconnecting these components from the old bumper and reattaching them to the new one, and we recommend testing all electrical functions before completing the installation to ensure everything operates properly.
Use the vehicle selector at the top of this page to confirm fitment for your specific year, brand, and model. If your vehicle is not listed or you're unsure, contact us at support@evparts4x4.com with your VIN — we'll confirm compatibility within 24 hours. Our Guaranteed Fit policy means if a compatibility issue is on our end, we'll make it right.
Orders are processed and dispatched within 2-4 business days. Standard parts ship via Air Parcel and typically arrive in 10-15 business days; larger body parts ship via Sea Freight and take around 30-45 business days. Shipping is free on orders over $100. You'll receive a tracking number once your order ships, and can track it anytime here. Full details in our Shipping Policy.
Yes — we offer a 30-day return window from the delivery date, and we don't charge any restocking fees. If an item arrives damaged or isn't quite right on our end, we'll arrange a replacement or full refund and cover the return shipping. For the complete terms, please see our Return & Refund Policy or start a return via our RMA page.
We don't provide installation directly, but most of our parts are designed for straightforward DIY installation — the step-by-step guide is in the Installation Guide tab above. For complex parts (e.g. brakes, suspension, electrical systems), we recommend having a qualified mechanic perform the installation. If you have technical questions during installation, our support team is happy to help at support@evparts4x4.com.
